Contour Gardening
The art of land shaping for natural rainfall catchment
We are all familiar with the iconic image of a lush green oasis surrounded by brown, dry, dead desert. We know that life needs adequate water to thrive.
Despite most of New Zealand receiving considerably more rain than the Sahara there are often protracted periods of drought that can seriously impact the local ecosystem and plant health. While the effects of dry spells differ with region, soil type and other local conditions, the solutions are the same and simple.
Since moving to a small lifestyle block in 2009 I have been observing how water interacts with the landscape. I have seen how in heavy rains water pools on the ground and then, when there is nothing to hold it back, runs downhill heading for the sea. I have witnessed how hills compacted by tread and hoof shed rather than absorb the nourishing waters from the sky resulting in unnecessary run-off and erosion.
It was during the winter of 2012, while reading a new permaculture book in front of the fire that I came across the concept of swales and I recalled the rice terraces I had seen in Bali and Thailand. It was one of those light-bulb moments.
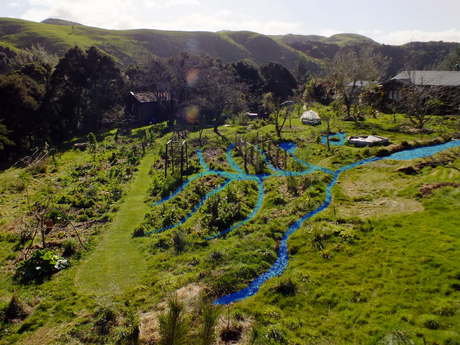
I began digging, using the water seeping off the landscape to create level trenches that followed along the contour to form long skinny ponds. These were my first swales.
Consider this...10 millimetres of rain falling on 1 hectare equates to 100,000 litres or a cube 4.6 meters on a side. The sensible place to store this water is in the soil.

Natural land-shaping aims to slow, spread and sink excess water by forcing run-off to take a long, slow, meandering course across the landscape. This offers a number of benefits:
- Reduced risk of erosion – The slower water moves the less damage it can do and the less valuable nutrient, organic matter or pollutants can leave the site.
- Greater infiltration – Water is stored in the root zone, subsoil and recharges aquifers rather than running off to mix with the salt ocean.
- Nutrient distribution – Include animals such as ducks and pigs
- Pleasing landscape – Contour lines break up the land in a visually pleasing way
During periods of rain, the water falling from the sky is absorbed by the soil directly where it lands. However, beyond a certain point the soil can hold no more water and excess starts to run downhill on the surface at right angles to the contour. A swale is essentially a ditch that runs perfectly level along the contour and intercepts this surface run-off, trapping and spreading it sideways.
Once the rain has abated, the water trapped in the swale infiltrates downhill into the ground as the soil there slowly drains. The presence of the swale has allowed water that would otherwise have left the landscape, taking material and nutrient with it, to be held back and effectively delivered over a protracted period.
Additional benefits and slow release can be achieved by packing the core of the swales downhill edge or dam wall with rotten logs. Known as Hügelkultur (German for mound or hill culture), these act like a sponge or camels hump, absorbing and holding moisture, making it available to plants located nearby.
Since the construction of our elaborate swale network I have noticed a definite improvement in the composition of vegetation as well as the arrival of tree frogs. Using these simple and time proven techniques it is possible to reduce or eliminate the need for irrigation, reduce nutrient leaching and generally create a more stable and balanced local ecosystem.
To create a swale of your own choose a location close to a large hard surface such as a roof, patio or driveway from which to collect the water. Ideally this should also be located as high in the landscape as possible to make full use of the free force of gravity for water distribution.
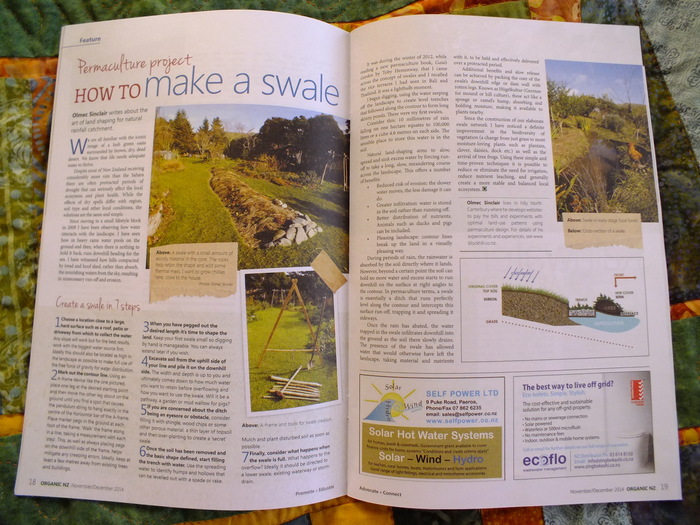
T he next step is to mark out the contour line. Using an A-Frame device like the one pictured, place one leg at the desired starting point and then move the other leg about on the ground until you find a spot that causes the pendulum string hanging exactly in the centre of the horizontal bar of the A-Frame. Place marker pegs in the ground at each foot of the frame. 'Walk' the A-Frame along, flipping it each time you take a measurement. This, as well as always placing pegs on the downhill side of the A-Frame, helps mitigate any creeping errors. Ideally you should keep at least a few meters away from existing trees and buildings.
When you have pegged out the desired length it's time to shape the land. As this is your first swale keep it small so digging by hand is manageable. You can always extend later if you wish.
Excavate soil from the uphill side of your line and pile it on the downhill side. The width and depth is up to you and ultimately comes down to how much water you want to retain before overflowing and how you want to use the swale. Will it be a pathway, a garden or mud wallow for pigs...
If you are concerned about the ditch being an eyesore or obstacle consider filling it with shingle, wood-chips or some other porous material, a thin layer of topsoil and then over-planting to create a 'secret swale'.
Once the soil has been removed and the basic shape defined start filling the trench with water. Use the spreading water to identify humps and hollows that can be levelled out with a spade or rake. Mulch and plant disturbed soil as soon as possible.
Finally, consider what happens when the swale is full. What happens to the overflow? Ideally it should be directed to a lower swale, existing waterway or storm drain.

